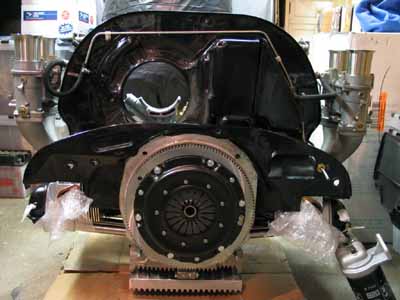
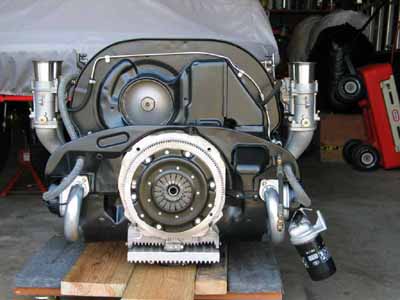
Slapping parts together is easy, but doing it right is a matter of sweating the details. I can't just uncrate the engine, put the tin on and dump it into the car. I have to trial fit the tin and make sure it fits correctly. Then I have to send it out and have it powder painted satin black.
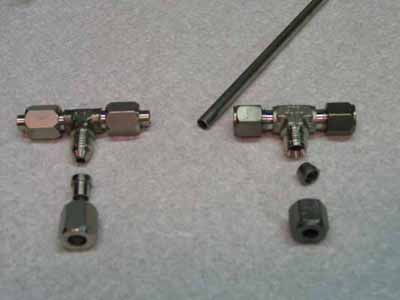
I've decided to replace the as much of the fuel hose in the engine compartment as I can. I purchased some .250" OD 316 stainless steel tubing with a .196" ID from McMaster-Carr. They carry all kinds of hardware and stuff so you should take some time and checkout their website. Along with the tubing I purchased some 316 stainless Tee fittings. The one on the left is a single flair and the one on the right is a compression fitting. Since this is just low pressure i'll use the compression since it has a large hole in it.
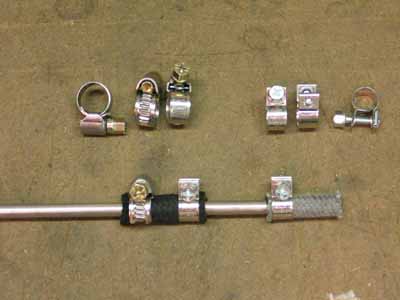
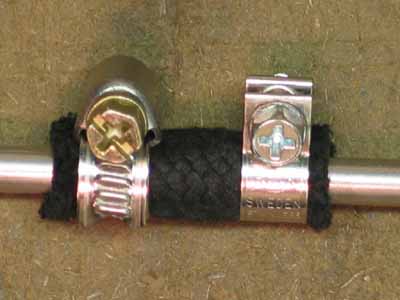
Ever think about hose clamps? I have and the one on the left is a German OE style available from McMaster-Carr the ones on the right are a Swedish "band" style, offer superior clamping without crushing the hose and are available from Ultimate Garage.
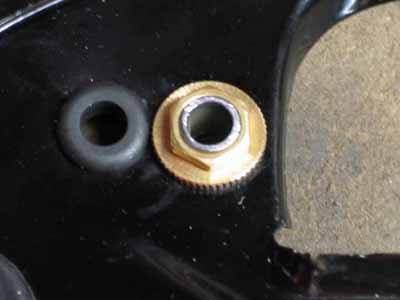
One of the problems pointed out by Bob Hoover is where the hard fuel line comes through the sheet metal it can cut through the rubber grommet eventually cut through the hard line. He came up with a simple solution of using the threaded tubing commonly used on ceiling fans and lamps along with some nuts to provide more support so the tubing is not sitting on a "knife edge". It's simple and works.
The second hole to the left is for the hose that runs to my mechanical oil pressure gauge. There will be on this later.
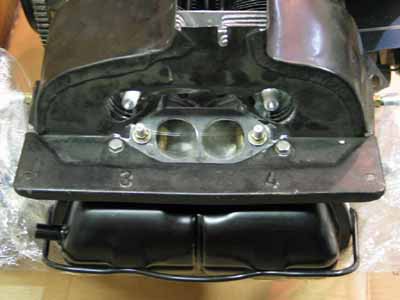
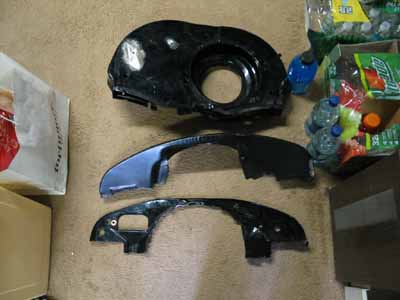
The cylinder tin needed to be trimed around the intake manifold. I was careful not to cut away too much and to keep the deflector between the cylinders. As you can see the tin also fits tight against the case.
After alot of work I completed the fuel hardline. It runs to the left and is mounted to the front of the fan shroud.
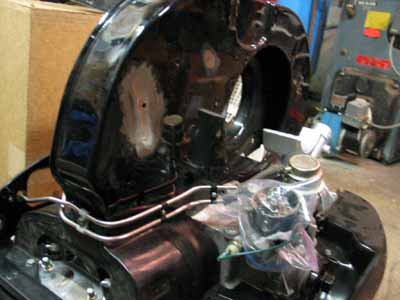
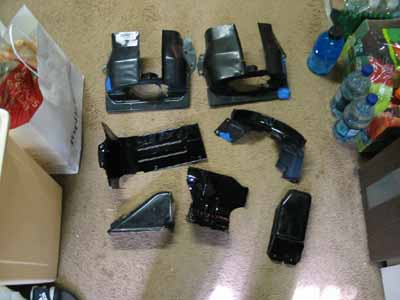
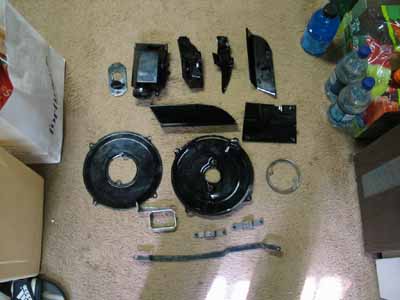
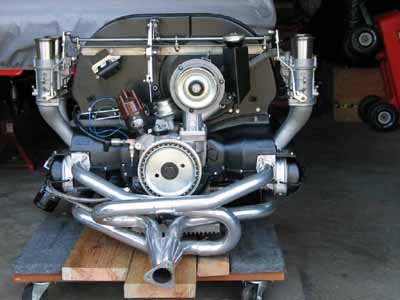
All the engine tin before it went to the powder painter.
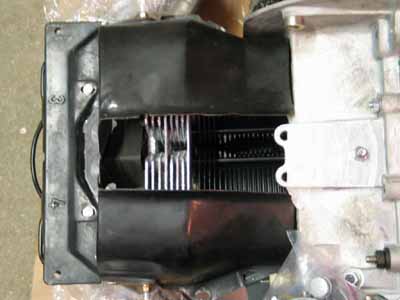
Berg welded German fan. I don't need it coming apart at high RPMS.
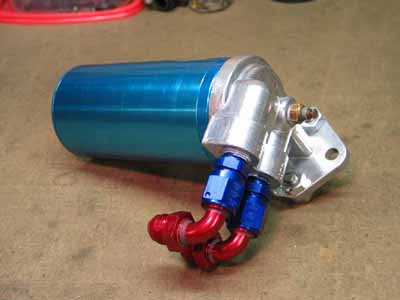
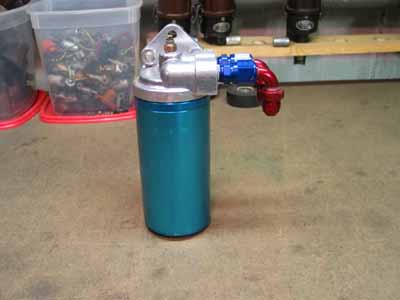
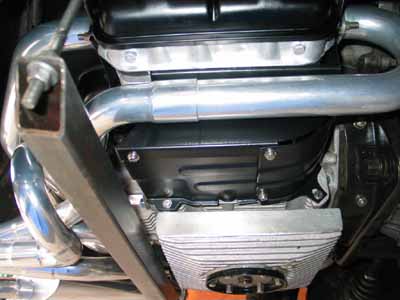
Canton Mecca oil fiter. I moved the oil temp sender from the sump to the filter output to be more accurate.
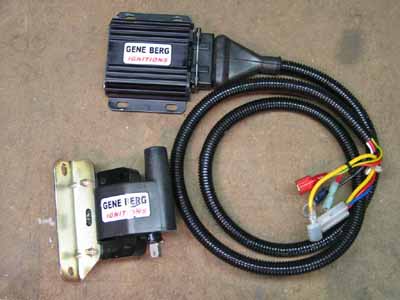
This is the Gene Berg "Ignitor" CDI system. It's simple, but gets the job done.
Ready to be installed.
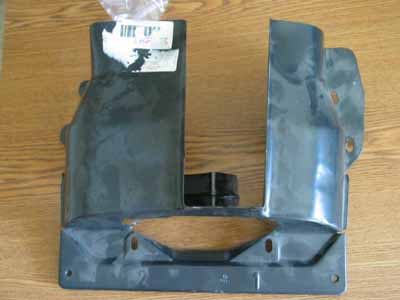
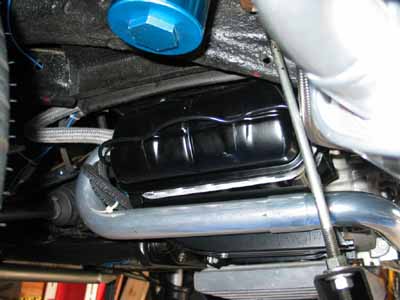
You can see the Type 181 lower engine tin and how it closes off the space left by the heater boxes.
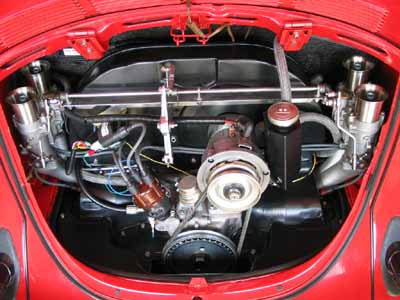
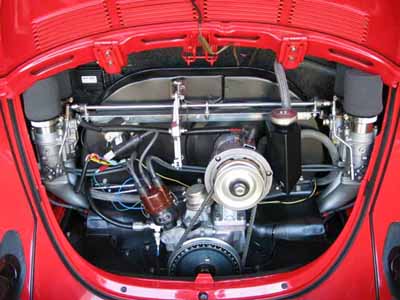
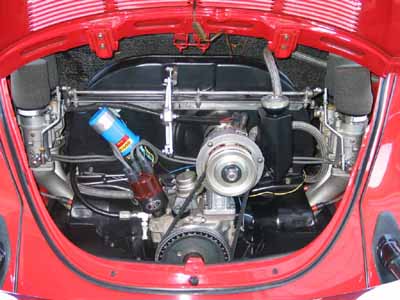
It's in and ready to run.
It runs.
It's now November and I just put the car away for the winter. I put about 1800 miles on it since it was installed. I did have a few problem but nothing major.
First problem was dropping both cylinders on right side (#1 and #2). It would up being a stuck needle valve on the right carb.
Second was it developed a ignition miss which got worse. I replaced the Berg CDI box with a Bosch Blue coil and it hasn't happend since.
I have to say this is the nicest engine i've ever had. It starts on the first turn of the key and after a few seconds it idles smoothly at 800rpm. It has instant throttle responce and pulls well into the 7000rpm range. It's very docile around town, but put your foot into it and it screams to life and pulls like a freight train. If you drop the hammer from a stand still it will smoke the tires well into 3rd gear.