Taking thing apart is alot easier than putting them back together. Before you start you will need 5 things. A video camera, a polaroid camera, baggies in a few sizes, a pencil and paper. Believe me, when it comes time to put it back together you'll be glad you took the time to document the car. Make sure you bag all the little parts and label the bags. I also bought a few large plastic bins to help organize all the bags and parts.
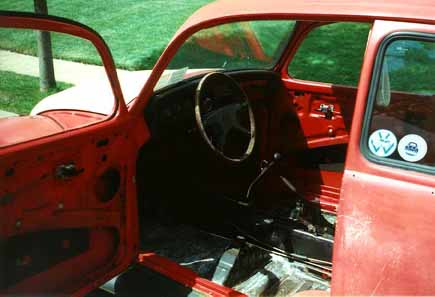
I first removed the headlights, front turn lights and the rear tail lights. Now I removed the seats, carpet, door and rear 1/4 panels, sun visors and rear view mirror completed the removal of the interior. Removing the door glass was a bit tricky. This is where video tape and notes will help in putting it back together. The vent windows, door glass and window regulator have to be removed in a certain order. I finished stripping the doors by removing the door handles, inside latches and door checks.
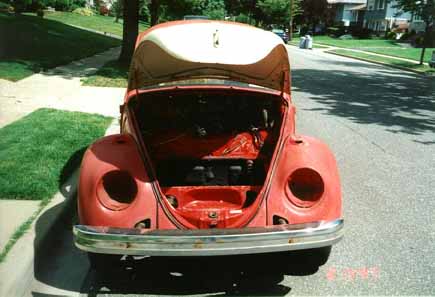
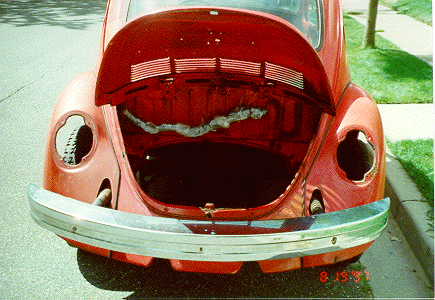
Under the trunk (front) I removed the air box, wiper assembly fuel filler neck and pulled all the wiring up and tucked it behind the dash. The fuel tank only has (4) 13mm bolts holding it in.
Removing engine requires a floor jack and jack stands. NEVER get under a car without jack stands. I removed the wires for the ignition and alternator. Now the fuel line and accelerator cables need to be disconnected. I unbolted the dual mufflers and disconnected the remote oil filter and cooler. Now I put the floor jack under the engine and used it to remove the engine's weight from the tranny. Ther are (4) 17mm bolts attaching the engine to the tranny. When they are removed the engine can be pulled toward the rear of the car and it will slip off the input shaft of the tranny. Now slowly lower the engine and... it's out. Carefully get someone to help you take it off the jack and put it a dolly.
The tranny is just as easy. Disconnect the shift linkager. The access panel is inside under the rear seat. The axles require a hex key drive to remove. All that's left are the front and rear mounts.
I removed the alloys wheels and mounted a set of beatup stock rims on the car. This way I don't have to worry about them at the body shop.
I also removed the bumpers and energy absorbing bumper mounts.
I decided to leave the headliner, since it was in very good shape. I also left the front, rear and 1/4 windows in. That will help keep the plastic media out then the car is stripped. They will be removed before the car is painted.