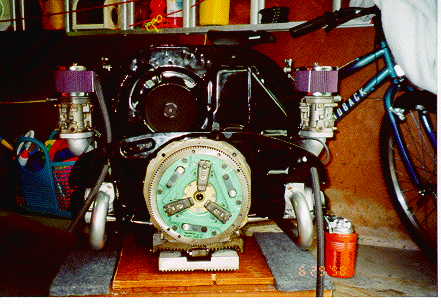
One thing led to another and after awhile we decided a totally rebuild would be best. I took this opportunity to increase the horse power of the engine. Joe did alot of head work, including some welding, porting and polishing. The rocker arms were a bit worn, so they were replaced with Pauter Machine 1.3:1 roller bearing/roller tip billet rockers. One connecting rod was bad and it was replaced with another Gene Berg rod while the other 3 were rebuilt and new bushings were installed. The crankshaft was in perfect shape and only needed to be micro polished. I also replaced the camshaft and installed new lifters. All new bearings and seals were used and I even found a set of stainless steel push rod tubes. They should last forever and look great. The entire engine was then dynamically balanced. This will reduce engine vibration and allow the engine to rev alot higher. It will also increase the life of the engine.
While this was going on I had all the engine tin power painted. I also cleaned the alternator and most of the other engine parts. If i'm rebuilding it, it should at least look nice. A wire brush, steelwool and paint thiner got everything clean.
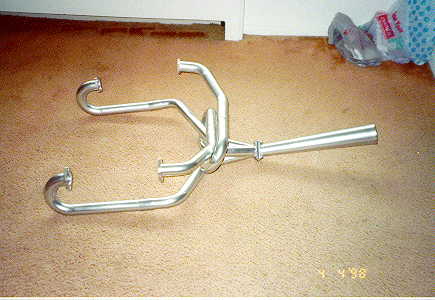
I ordered a new 1-5/8" merged header with dual mufflers from Gene Berg and sent it out to Jet-Hot Coatings for ceramic coating. This will make the exhaust last alot longer. It also looks great.
Once the engine was completed, I gave it back to Joe so he could breakin the engine and fine tune it on a dyno. Horse power peaked at 180hp @ 6800 rpm. The engine redlines at 7600rpm.

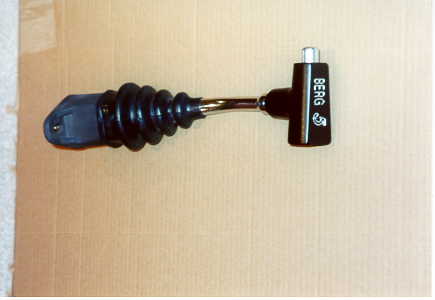
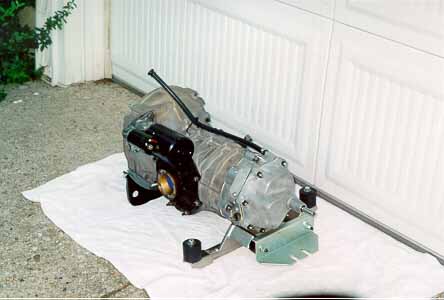
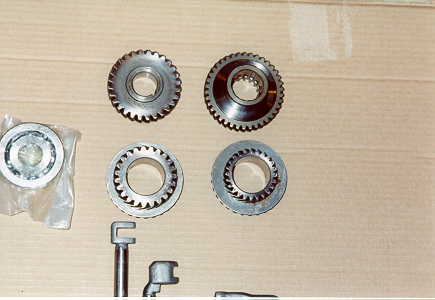
The tranny was in perfect working order. The only problem was a few leaks. At first all I was going to do was replace the seals and put it back together. It sat apart on my bench for 3 weeks. Then I got an idea. This would be the perfect time to convert it to a 5 speed. I made a quick call to Gary Berg for a rough idea of the labor costs. Then a call to Clyde Berg of Gene Berg Ent. I quickly made a decision. I'll do it. Once I put the drivetrain in, I'd never get to it. I told Clyde that I wanted the gears to be close, but I didn't want the engine screaming at 70mph. He suggested that I use a 3.78 1st, 2.06 2nd, 1.58 3rd, 1.21 4th, 0.82 5th and a 3.875 R/P. This would allow me to have the gears very tight while pushing only 3000rpm at 69mph. This was one of the times that the budget was ignored.
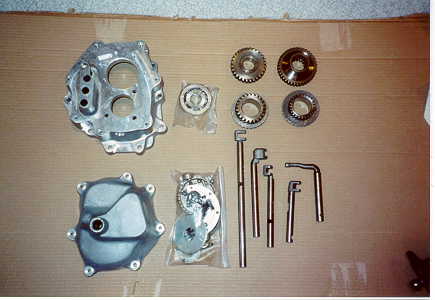
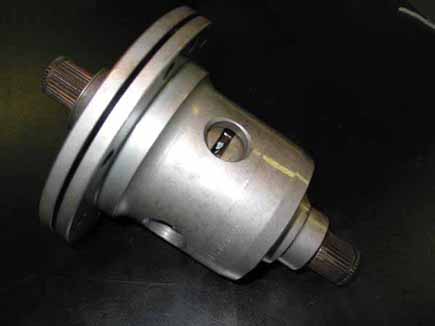
This was not going to be a "one wheel wonder", so i acquired a ZF differential (aka Posi) for the transmission. I also beefed up the axles with Type 181, Thing, flanges, Porsche 924 Stub Axles and Type 2 C/V joints.
I sent the main shaft and pinion shaft to Clyde to be modified. Two custom sockets had to be ordered to re-assemble the tranny. After 4 months the modified parts along the 5 speed kit, gears, ring and pinion, new shifter and special front mount arrived. I sent them over to Gary for the assembly. A few months passed and then it was ready to be installed.
With the new 5 speed tranny a few modifications needed to be made to the body so it would fit. I sent the car back to the body shop for these. A cross member needed to be welded to the frame to support the front of the tranny. The torsion bar tube on the right (passenger) side needed to be cut and clearanced and a piece of metal welded in to close up the opening. Finally the rear parcel shelf had to be clearanced 2 inched to make room.

Since I was replacing everything new heavy duty tranny mounts were used. They along with a new rear engine support mount will keep the vibrations to a minimum.