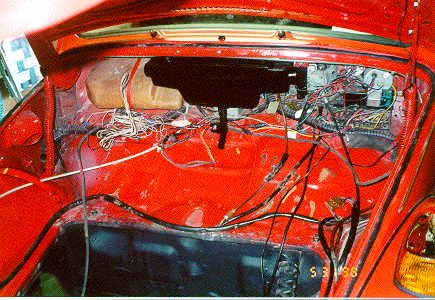
Now comes the time that all the notes, pictures and video really help.
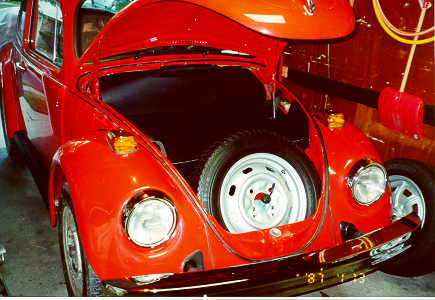
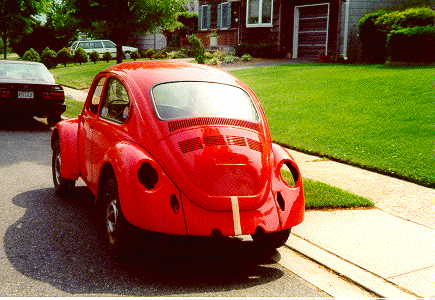
My first order of business was to install the lights and get the wiring working. I checked my notes and followed the color codes when connecting the wires to the rear tail lights. I used new body gromets where the wires enter and exit the fenders. After the lights were wired I mounted them on the fender and only hand tightened the (4) 8mm bolts. I then did the same for the headlights and front turn signals. Next was to get the wiring in the front trunk straightened out. The windshield wiper assembly was connected and reinstalled in the car. At that point i decided to connect the battery and see if everything would work. Well... the notes were well worth it. All the lights worked 1st time along with the horn, wipers and flashers.