
I installed the running boards to make it look more like a completed car. With both sides getting new outside heater channels, it took alittle work to get the holes lined up. I used stainless steel bolts so they would be easier to remove when it's time to replace them.
I now installed the chrome spears along the body. Be carefull when installing the small white plastic clips that hold the spears on. You insert them into the holes and press the center stem in. The stem expands the clip in the hole so they don't come out. Don't press too hard. I dimpled the hood while doing one of them.
The doors were my next step. These have to be done carefully. First install the outside trim and window scrapper. There is a small screw that on the top that helps hold it in. I forgot about it and only noticed it when reviewing the video later in the project. Next came the vent window assembly. You only get it in place, but don't bolt it in. Now put the window glass into the door, but just have it lay there. Before installing the window regulator make sure you apply some white grease to lubricate it. Here comes the hard part. When installing the window regulator you have to get part of it between the inside door panel and the vent window assembly. This is why you didn't bolt the vent window in. It takes some work, but it can be done. When the regulator is in place you can bolt it to the door. Now is the time to get the vent window in place and bolt it down. The felt weather strip is the next part. Install the clips and then start the felt at the vent window. I used a piece of molding to help apply pressure. At the corner be careful to not crease it. When its in place the door window can be slid into the felt weather strip and bolted to the window regulator. Now the other parts can be installed. The door handles are easy. Just make sure you lubricate them before installing. The door latches and door locks are also easy. I made sure to dry fit the door seal before applying a bead of weather strip glue reinstallin the seal. The last parts was the dome light switches.
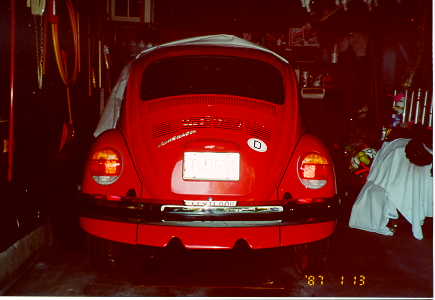
I closed the windows and gave the door a slam. It sounds like a new car. I bet it will still pop your ears after 25 years.
Undercoating is the next part. You have to protect the under side of the car so it doesn't rot again. Don't use the cheap stuff. It usually cracks and will actually retain moisture. I went to a local auto body supply house and used Transtar Undercoating. It will not crack and leaves a nice black finish. I bought 10 spray cans. They cost about $7 each, so $70 is not alot to protect the underbody. You will have to put the car on jack stands and make sure you mask off the painted parts. It does cleanup with gas or paint thiner. Put plastic down on the ground and wear your oldest cloths. This stuff will make a major mess and will get in your hair and on your cloths. It actually went through my T-shirt and my wife had to clean it off my back with paint thinner. The cloths went into the trash. Now the bottom looks as good as the top.
Now it's time for the drivetrain to go in. The tranny is first. There are only a few bolts and the shift linkage. I took this time to test and align the linkage so it works properly.
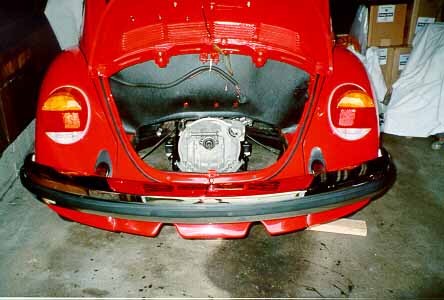
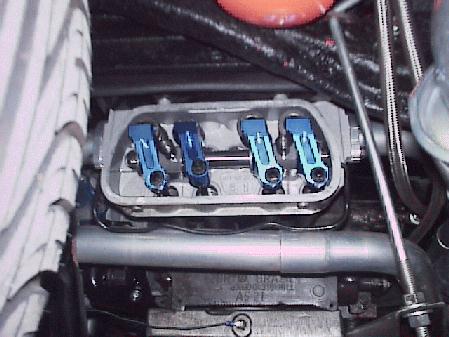
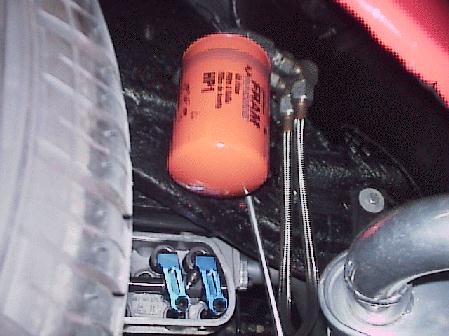
The engine in next. First I have to take the carbs and manifolds off. I used a floor jack to carefully raise the engine in. Once aligned with the tranny input shaft and the 4 mounting bolts all you need is a little push and to tighten the (4) 17mm nuts. Now the intake manifolds, carbs and linkage can be connected. The only things left are the fuel line, oil pressure gauge line, gas cable, ignition wire, alternator wires, tachometer and oil temp wires. The last things are the dual mufflers, rear engine support and remote full flow filter.
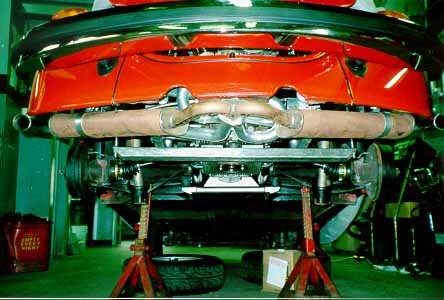
The axles will be installed using new bolts. When the new Sway-A-Way 1-1/8" rear bar is installed the car can be lowered. I plan on replacing the shocks sometime in the near future.
The fuel filler tube is installed through the body and the gas tank is lowered into place. I made sure to use all new fuel line and hose clamps. No sense cutting corners here.
Well it's time to put a few gallons of Sunoco 260 in the tank and start the engine. After the carbs are fine tuned it's ready for a drive.
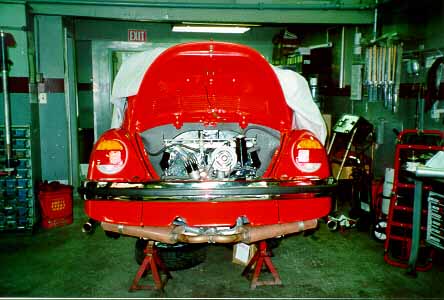
![[Click here for a LARGER picture]](http://www.glenn-ring.com/pics/engines.jpg)
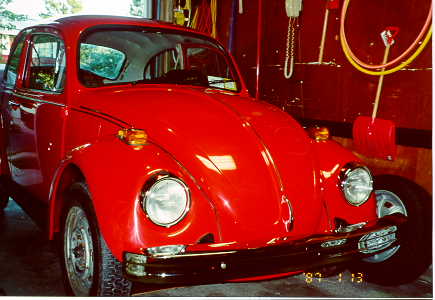
![[Click here for a LARGER picture]](http://www.glenn-ring.com/pics/fronts.jpg)