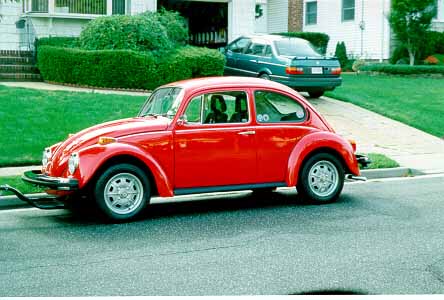
Lowered spindles lower the car 2.5" by moving the spindle higher, which dropps the front of the car. The problem I had was since I'm running 195/60-15 tires they would rub and could not be used. I didn't want to switch to 145-15's because they just don't handle or perform as well as the 195's.
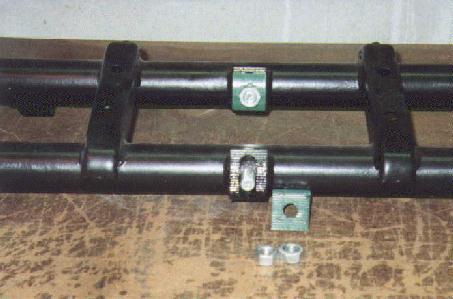
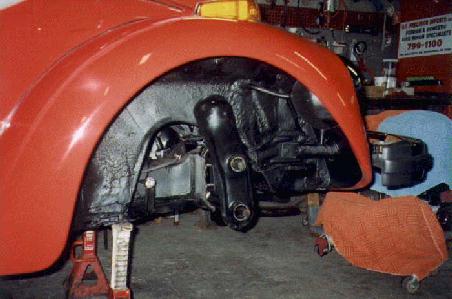
An adjustable beam lowers the car by changing the angle of torsion bars. This is done in 2 different ways. The most common require you to cut the torsion tubes and weld in the adjusters. I personally feel that this weakens the beam. Another way is to install Avis adjusters. With the Avis adjusters you cut a slot in the beam and weld a plate over the slot. The plate has teeth that match another plate with teeth. The teeth interlock and allow you to change the angle of the torsion bars.
One problem with using an adjustable beam is that by changing the angle of the torsion bars, you also change the caster angle. This can be corrected by installing caster shims. They mount behind the lower torsion tube and tilt the beam to restore the caster angle. Generally if you lower less than 2" you don't need them, but I installed single shims on my car. For more radical lowering they can be stacked for more caster angle.
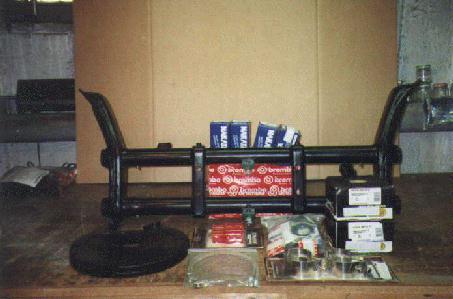
Here's what I went with... I had Avis adjusters installed in a NOS German beam. I decided to start with new brakes, so I used real Brembo rotors, new calipers and new braided stainless hoses. The backing plates and trailing arms were sand blasted and painted with POR-15, so they'd last a long time. New wheel bearings, tie rods and ball joints were also used. I also replace the old front sway bar with a new Sway-A-Way bar with polyeurothane bushings and stainless clamps.


![[Click here for a LARGER picture]](http://www.glenn-ring.com/pics/sides.jpg)